
In this guide, we're going to look at how to deploy a website to a VPS. The starting assumption is you a have already built the website and you can access it locally on your machine on something like localhost:3000. I also assume you already have crated an AWS account and know how to set up a VPS (LightSail) instance.
NB: This article costs KES 25 (25 Tokens). The tokens go directly into supporting this course. If you'd wish to contribute more, you can reach out to mosesmbadi@gmail.com or Donate through M-Pesa: 0798351815.
I highly recommend you follow this guide as you create your own deployment as I have done. The best software engineers learn by doing.
Before we dive any further, let's talk about what happened when you visit a website. Locally, you develop your website, run it and you can access it on your browser using something like localhost:3000. However, your users can't use localhost:3000, they use a domain name, something like www.somastories.app. This is what we'll achieve in this session.
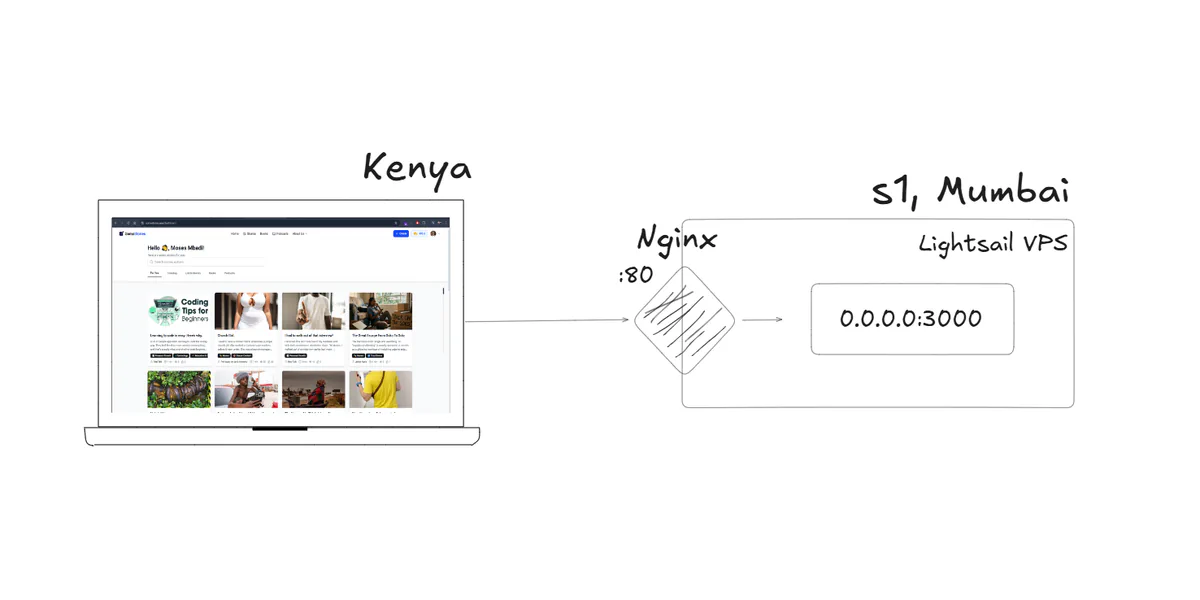
The project is divided into the steps below:
- Buy the Domain 8hrs.xyz (or any other domain you prefer) from Namecheap/Truehost (or any other domain registrar).
- Set up a VPS (Server) - Install nodejs on it
- Host Code to Github. Push your local code to GitHub.
- SSH into the server and Clone the Code on the server
- Run the app (npm install && npm run dev). You can use nohup npx nuxt dev --host 0.0.0.0 > app.log 2>&1 & to run it in the background.
- Update DNS to point to server IP
- Configure a web server, Nginx
Prerequisites
Before starting, make sure you have:
- A Linux server (Ubuntu 24.04 recommended) with a public IP address
- A domain name (8hrs.xyz) with DNS A records pointing to your server's IP
- SSH access to your server
- Your Next.js app pushed to a Git repository (e.g., GitHub)
DNS Setup (Do this first)
In your domain registrar's DNS settings, create two A records:
Type: A
Name: @
Value: YOUR_SERVER_PUBLIC_IP
Don't forget this:
Type: A
Name: www
Value: YOUR_SERVER_PUBLIC_IP
DNS propagation can take up to 48 hours, but usually completes within minutes.
Part 1: Setting Up the Server
Step 1: Connect to Your Server
In AWS, click "Connect using SSH". Tis will open a terminal access to your server.
Step 2: Update the System
apt update && apt upgrade -y
Step 3: Install Node.js
We'll use Node Source to install a modern version of Node.js (v20 LTS):
curl -fsSL https://deb.nodesource.com/setup_20.x | bash -
apt install -y nodejs
Verify the installation:
node -v   # Should show v20.x.x
npm -v    # Should show 10.x.x
Step 4: Install Git
apt install -y git
Step 5: Install PM2 (Process Manager)
PM2 keeps your Next.js app running in the background and auto-restarts it if it crashes or if the...